
In This Article
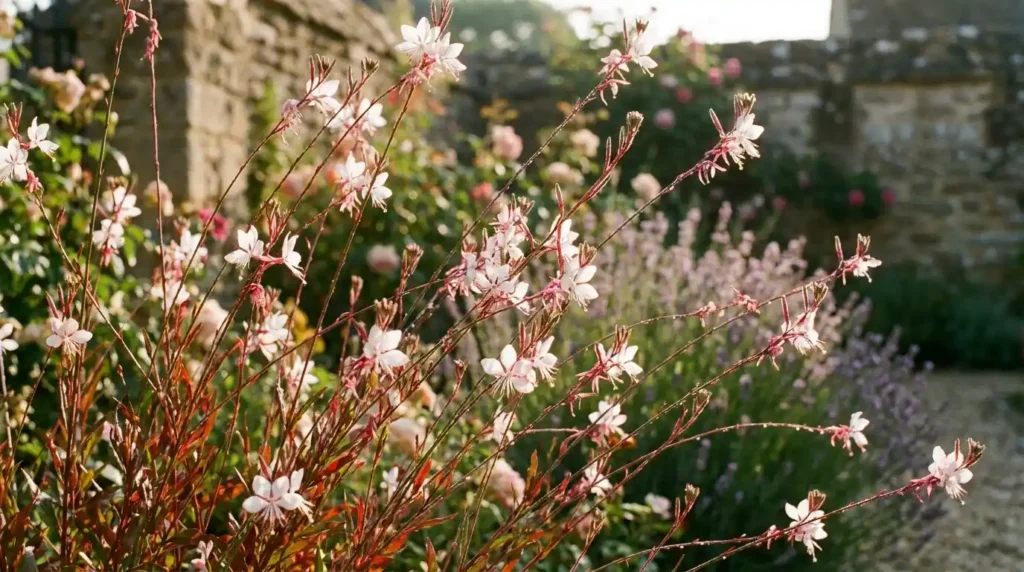
The gaura plant (Gaura lindheimeri), also called wand flower or beeblossom, is a graceful perennial native to Texas and Louisiana. Its delicate, butterfly-like blooms dance on wiry stems, bringing a breezy cottage-garden charm. Hardy in zones 5–9, it’s low maintenance, drought-tolerant, deer-resistant, and virtually self-sufficient once established.
Plant Care Card
| Common Name | Gaura, Wand Flower, Beeblossom |
| Botanical Name | Gaura lindheimeri |
| Family | Onagraceae |
| Plant Type | Perennial |
| Mature Size | 2–4 ft. tall x 2–3 ft. wide |
| Sun Exposure | Full sun |
| Soil Type | Well-draining, sandy or loamy |
| Soil pH | 6.0–7.0 (neutral to slightly acidic) |
| Hardiness Zones | USDA 5–9 |
| Native Area | Texas, Louisiana (USA) |
| Bloom Time | Late spring through fall |
| Toxicity | Non-toxic to humans and pets |
Gaura Plant Care
The gaura plant is wonderfully low maintenance once it settles into the right spot in your garden. Here’s what you need to know about sun, soil, water, and seasonal upkeep. With proper placement, it keeps blooming season after season with very little effort from you.
Light
Gaura thrives in full sun, needing 6–8 hours of direct sunlight daily for constant blooms from late spring through fall. Less light means fewer flowers and leggier growth. Plant in a south- or west-facing bed with uninterrupted sun. Unlike shade-tolerant varieties like the dipladenia plant, it needs open sky.
Soil
Gaura demands well-draining, sandy or loamy soil with a pH of 6.0–7.0. Heavy clay causes root rot. For dense or compacted soil, mix in 60% native soil, 30% coarse sand, and 10% compost. According to the University of Florida IFAS Extension, drainage is the top factor in preventing perennial root problems.
Water
Water newly planted gaura once or twice weekly for the first 4–6 weeks. Once established, it’s drought-tolerant water only when the top inch of soil feels dry. Reduce watering in fall and winter. Overwatering causes yellowing leaves and droopy stems; underwatering causes slight wilting that recovers quickly with a good drink.
Temperature and Humidity
Gaura thrives in heat and prefers hot, dry summers. It’s cold-hardy to -20°F in zones 5–6, but mulch the base with 2–3 inches before frost for crown protection. Warmer zones (7–9) need no winter care. High humidity and wet soil invite fungal issues, so always prioritize drainage.
Fertilizer
Too much fertilizer causes excessive leafy growth and fewer blooms. Apply a balanced, slow-release granular fertilizer (like 10-10-10) once in early spring when new growth appears. Skip fertilizing after midsummer and don’t feed during dormancy.
Types of Gaura Plant
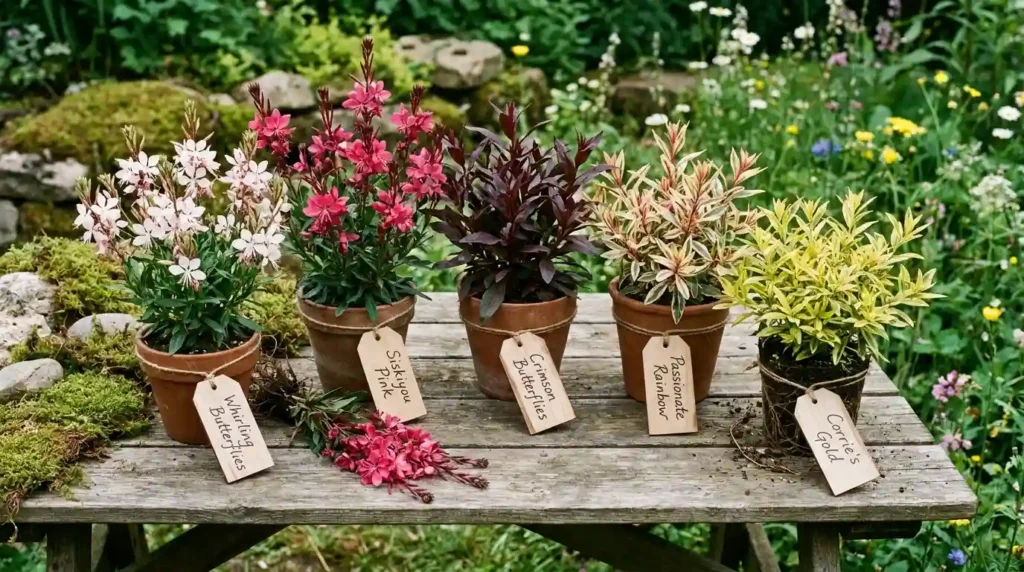
There are several beautiful cultivars worth knowing. Here are the most popular ones:
- ‘Whirling Butterflies’: The classic variety, with white flowers tinged pink that sway gracefully on long stems. Reaches 3–4 feet tall.
- ‘Siskiyou Pink’: Produces deep rose-pink blooms with burgundy-tinted foliage. Slightly more compact at 2–3 feet. Great for adding color contrast.
- ‘Crimson Butterflies’: A dwarf cultivar reaching just 12–18 inches, with dark red-purple leaves and rosy-pink flowers. Perfect for containers or front-of-border planting.
- ‘Passionate Rainbow’: Tricolor foliage in green, cream, and pink even the leaves are ornamental. White flowers bloom above the colorful mound.
- ‘Corrie’s Gold’: Features yellow-variegated leaves and white-to-pink blooms. Adds a bright, cheerful look to mixed borders.
Pruning
Prune your gaura plant hard in late winter or very early spring, just before new growth emerges. Cut stems down to about 4–6 inches from the ground. Remove any dead, woody, or damaged stems from the previous season. Regular deadheading during the blooming season snipping off spent flower spikes extends the bloom period significantly. Similar flowering perennials like the red salvias plant benefit from the same late-winter cutback routine.
Use clean, sharp pruning shears to make smooth cuts and reduce disease risk. During the growing season, trim leggy stems by about one-third to encourage bushier, more compact growth. The gaura plant responds beautifully to pruning and rewards you with a fresh flush of flowers within just a few weeks.
Propagating Gaura Plant
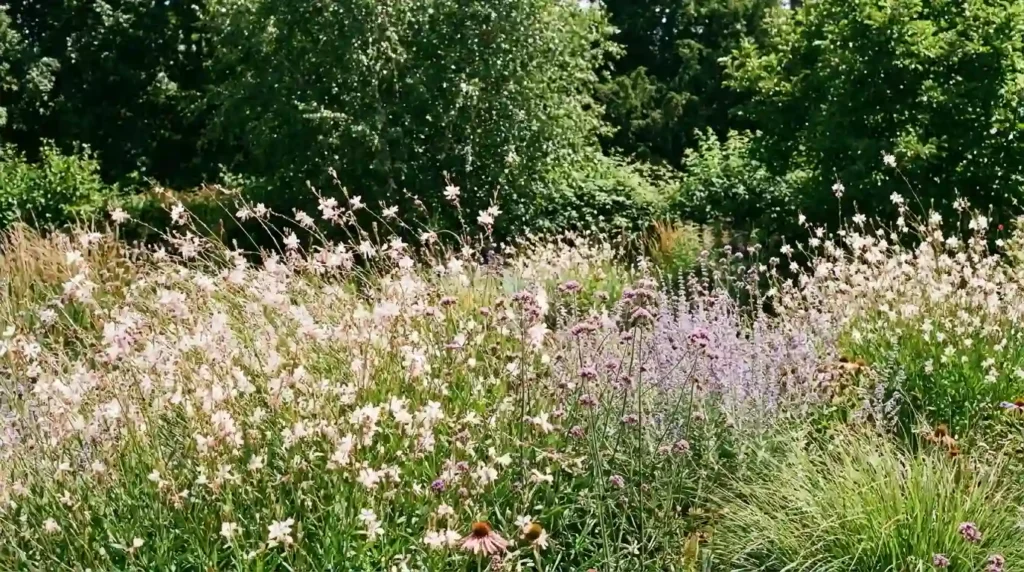
The best time to propagate a gaura plant is in spring or early summer when it is actively growing and stems are pliable. You can propagate the gaura plant by stem cuttings, division, or seeds all three methods work well.
Propagating by Stem Cuttings
Stem cuttings are the most reliable and fastest propagation method for this wand flower. This is especially useful if you want to preserve a specific cultivar like ‘Siskiyou Pink’ or ‘Crimson Butterflies.’
Materials needed:
- Sharp, clean pruning shears or a knife
- Small pots filled with well-draining potting mix
- Rooting hormone powder (optional but helpful)
- A clear plastic bag or humidity dome
- In early to mid-summer, select a healthy, non-flowering stem about 4–6 inches long. Cut just below a leaf node using clean shears.
- Strip the lower leaves off the bottom half of the cutting, leaving 2–3 leaves at the top. Dip the cut end lightly in rooting hormone if you have it.
- Insert the cutting about 1–2 inches deep into a small pot of moist, well-draining potting mix. Water gently, then cover loosely with a plastic bag to retain humidity.
- Place the pot in a warm, bright spot out of direct sun. Check moisture every few days. Roots typically develop within 3–5 weeks.
Once roots are established and new growth appears, transplant the cutting to its permanent garden location.
Propagating by Division
Division is the easiest option for an established gaura plant and works best in early spring, just as new growth emerges.
- Use a garden fork or spade to dig up the entire root clump carefully, keeping as much root intact as possible.
- Pull or cut the root mass into 2–3 sections, making sure each division has several healthy shoots and a good root system.
- Replant divisions immediately at the same depth, spacing them 18–24 inches apart. Water thoroughly to settle the soil. New growth should appear within a few weeks.
Division also reinvigorates older, woody clumps that have started to bloom less freely. Similar to what works well when propagating agave plants, working with fresh root sections gives the best results.
Planting and Transplanting
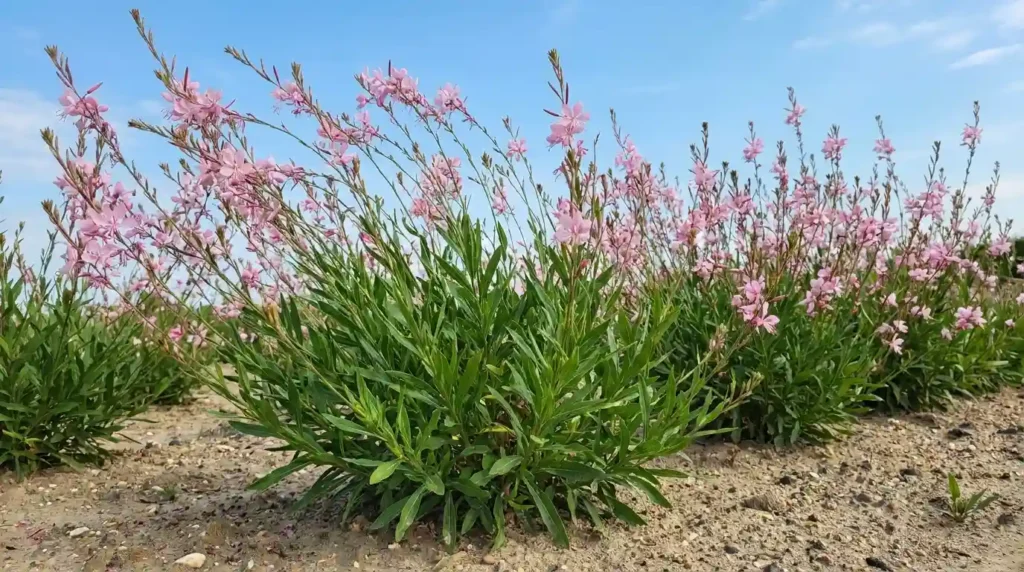
Plant your gaura plant in spring after the last frost, or in early fall at least 6–8 weeks before the first frost. Space plants 18–24 inches apart they need room for air circulation. Planting too close together invites fungal issues and crowding.
Dig a hole just as deep as the root ball and twice as wide. Set the crown at soil level don’t bury it too deep. Backfill with loosened native soil (amended with sand if needed) and water thoroughly. According to the USDA Plants Database, Gaura lindheimeri is native to the Gulf Coast and grows best when its natural soil preferences are respected.
Transplant or divide gaura plants every 3–4 years in early spring to keep them vigorous and blooming freely. Older clumps tend to get woody over time.
Common Pests and Diseases
Like most garden plants, the gaura plant can occasionally face pest or disease issues, though it’s generally more resistant than most perennials.
Aphids
Look for clusters of small, soft-bodied insects on new stem tips and flower buds. Treat with a strong spray of water or insecticidal soap applied in the morning.
Spider Mites
Look for fine webbing on stems and stippled, pale leaves, especially during hot, dry weather. Treat with neem oil or insecticidal soap, coating the undersides of leaves. According to UC IPM (University of California Integrated Pest Management), regular monitoring is the best way to catch mite infestations early before they spread.
Powdery Mildew
Look for a white, powdery coating on leaves and stems, usually in humid conditions or crowded plantings. Improve air circulation and treat with a baking soda solution or a copper-based fungicide.
Root Rot
Look for soft, dark, mushy roots and sudden wilting despite moist soil. Remove affected roots, let the soil dry out, and replant it in a better-draining location.
Caterpillars
Look for ragged holes chewed in leaves and stems. Remove caterpillars by hand, or apply Bacillus thuringiensis (Bt) spray for larger infestations.
Common Problems
Here’s how to troubleshoot common issues:
Poor or No Blooms
Poor blooms usually mean insufficient sunlight gaura needs at least 6 hours daily. Move it to a sunnier spot if needed. Over-fertilizing encourages leafy growth over flowers, so skip mid-season feeding. Prune hard in late winter, not spring, to avoid delaying bloom.
Yellow or Browning Leaves
Yellowing leaves signal overwatering or poor drainage amend with coarse sand and reduce watering. Browning tips suggest iron or magnesium deficiency; apply balanced fertilizer in spring. Post-transplant yellowing is likely transplant shock; keep soil moist to recover. For similar tips, see our nectarine tree care guide.
Wilting or Drooping
Wilting during a hot afternoon is normal for a gaura plant it’s a heat response and it usually bounces back by evening. If it’s still drooping in the morning, underwatering is the likely cause. Give it a deep watering and check back the next day. Drooping in a newly transplanted specimen usually signals transplant shock; consistent watering will help it settle in within a week or two.
Leggy or Sparse Growth
Leggy, open stems with widely spaced leaves almost always mean not enough sunlight. The gaura plant stretches toward any available light, producing weak growth. Move it to a sunnier location or cut leggy stems back by half to encourage bushier regrowth. Over-fertilizing with nitrogen can also cause this. The same principle applies to sun-loving plants like the arbequina olive tree the right spot makes all the difference.
Frost Damage
If a late frost hits, you may see blackened or mushy stem tips on your gaura plant. Don’t panic cut back the damaged portions to healthy green tissue. This perennial is remarkably resilient and will push new growth quickly once temperatures stabilize. Mulching before winter in zones 5–6 prevents the worst frost damage to the crown.
FAQ
Does gaura like sun or shade?
The gaura plant is a full-sun lover. It needs at least six to eight hours of direct daily sunlight to bloom well and stay compact.
Does the gaura plant come back every year?
Yes! It’s a perennial in zones 5–9 and returns reliably each spring. In colder climates, a layer of mulch helps protect the crown.
Should gaura be cut back?
Absolutely cut it back hard to about four to six inches in late winter. This encourages vigorous new growth and more flowers throughout the season.
Do gaura plants spread?
The gaura plant spreads slowly by self-seeding and by expanding clumps. Not invasive, but you may find seedlings popping up nearby each season.
3 thoughts on “How to Grow and Care for Gaura Plant”
Comments are closed.