In This Article
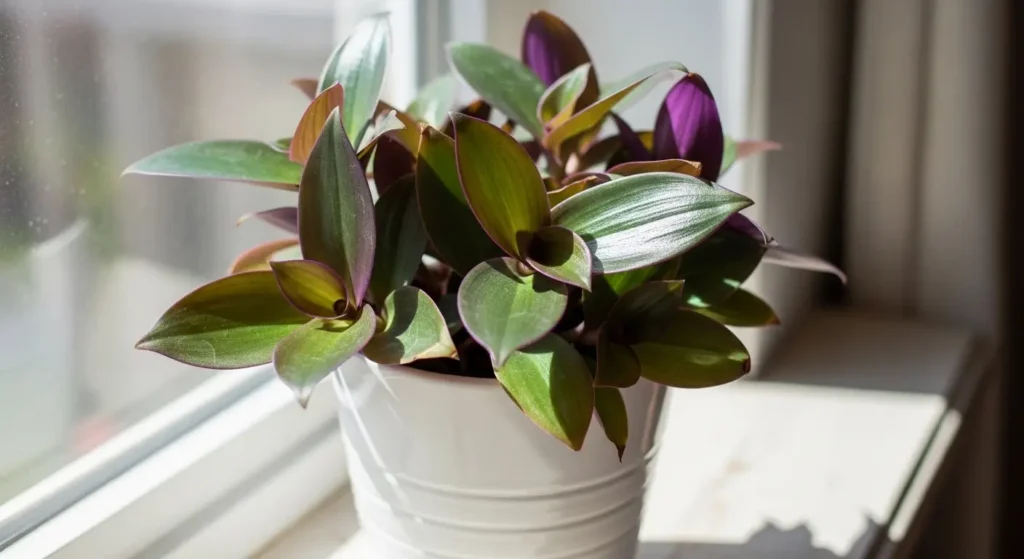
The oyster plant (Tradescantia spathacea), also called Moses-in-the-Cradle, is a striking tropical perennial with glossy green tops and bold purple undersides. Native to Mexico, Belize, and Guatemala, its tiny white flowers nestle in boat-shaped bracts just like little oysters. Beginner-friendly and forgiving, it’s a perfect indoor addition.
Plant Care Card
| Field | Details |
|---|---|
| Common Name | Oyster Plant, Moses-in-the-Cradle, Boat Lily |
| Botanical Name | Tradescantia spathacea |
| Family | Commelinaceae |
| Plant Type | Tropical perennial |
| Mature Size | 12–18 inches tall × 12–24 inches wide |
| Sun Exposure | Bright indirect light |
| Soil Type | Well-draining, loamy potting mix |
| Soil pH | 6.0–7.0 |
| Hardiness Zones | USDA Zones 9–12 |
| Native Area | Mexico, Belize, Guatemala |
| Toxicity | Mildly toxic to pets and humans |
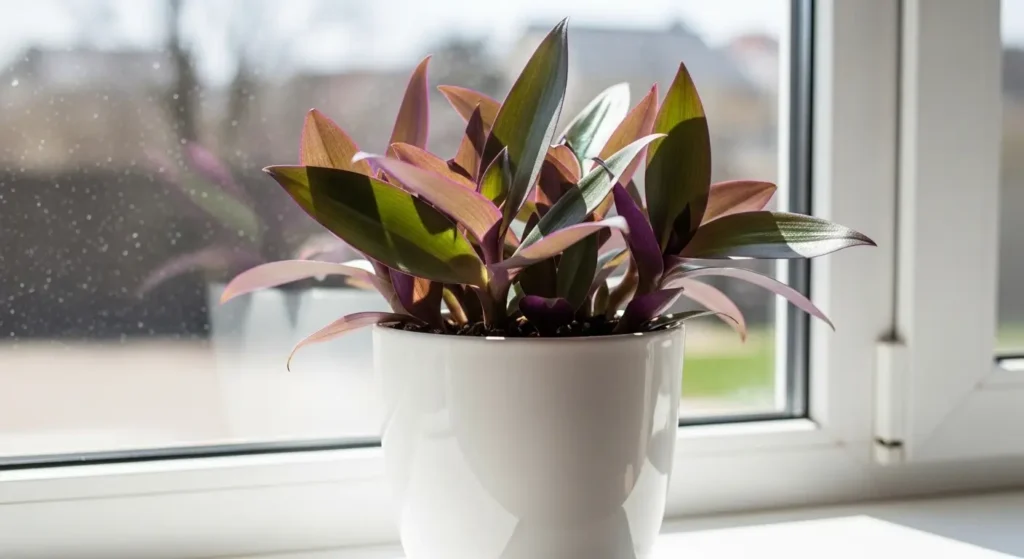
Oyster Plant Care
The oyster plant is one of the easier tropical houseplants to grow, even if you’re just getting started. The sections below cover everything from light and soil to watering and repotting. Trust me once you get the basics down, this plant practically takes care of itself.
Light
The oyster plant thrives in bright indirect light an east- or west-facing window is ideal. Too much direct sun scorches the leaves, while too little causes the purple undersides to fade. For the most vibrant foliage, aim for 4–6 hours of filtered light daily.
Soil
The oyster plant needs a well-draining mix that stays moist without getting soggy. A standard potting mix with added perlite works perfectly try 2 parts mix to 1 part perlite. Avoid heavy, compacted soils, as poor drainage leads to root rot fast. According to the University of Florida IFAS Extension, good soil aeration is vital for tropical houseplants.
Water
Water your oyster plant when the top 2 inches of soil feel dry never let it sit in soggy soil. Overwatering causes yellowing, mushy stems; underwatering curls leaves. Water every 5–7 days in spring and summer, every 10–14 days in fall and winter. Similar habits apply to the calathea plant.
Temperature and Humidity
The oyster plant thrives at 60°F–80°F (15°C–27°C) and handles typical household conditions well, but keep it away from cold drafts and vents. It prefers 50–60% humidity in dry winter air, a pebble tray or humidifier nearby makes a real difference and helps prevent brown leaf tips.
Fertilizer
Feed your oyster plant with a balanced liquid fertilizer (10-10-10) diluted to half strength every 3–4 weeks during spring and summer. Stop fertilizing in fall and winter when growth naturally slows down. Over-fertilizing causes salt buildup in the soil, so less is genuinely more here. For a deeper look at indoor plant nutrition, Clemson Cooperative Extension’s houseplant fertilization guide is a great resource.
Types of Oyster Plant
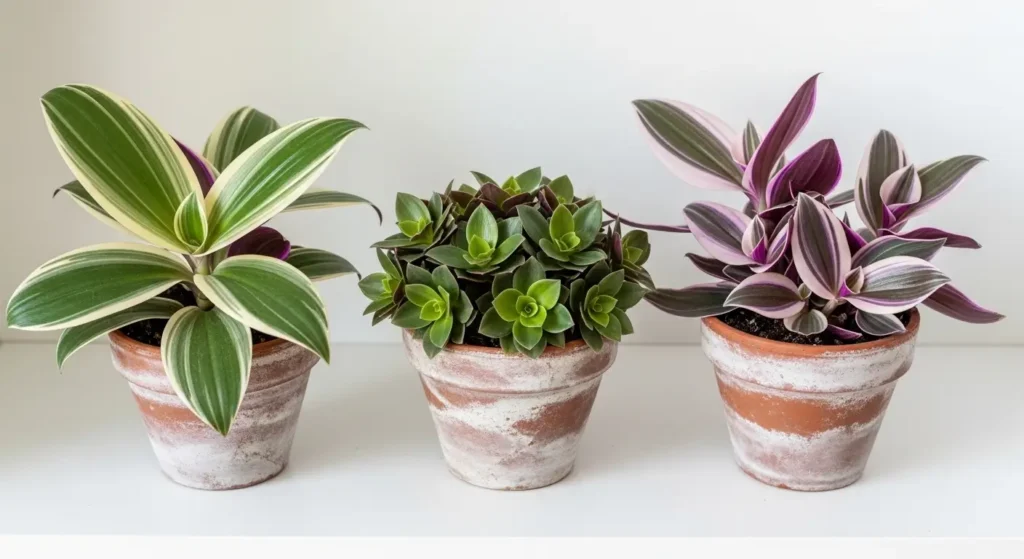
There are a few popular varieties worth knowing about:
- Tradescantia spathacea ‘Vittata’ — Features green and cream-striped leaves with the classic purple underside. A gorgeous, eye-catching cultivar for bright spots.
- Tradescantia spathacea ‘Compacta’ — A more compact, dwarf form that stays smaller, making it ideal for shelves or smaller containers.
- Tradescantia spathacea ‘Tricolor’ — Stunning variety with leaves striped in pink, green, and white, plus the signature purple undersides. Slightly more finicky about light than the standard form.
Pruning
Pruning keeps the oyster plant looking tidy and encourages bushier growth. Remove any dead or yellowing leaves at the base with clean scissors or pruning shears. If the plant gets leggy meaning stems grow long with sparse foliage cut those stems back by about one-third.
The best time to prune is in early spring, just before the growing season kicks in. Light trimming throughout the year is totally fine too.
Propagating Oyster Plant
The best time to propagate is during spring or early summer when the plant is actively growing. The oyster plant is one of the easiest houseplants to multiply you’ll have new plants in no time.
Propagating by Stem Cuttings
Stem cuttings are the most reliable method for propagating the oyster plant and give you results quickly.
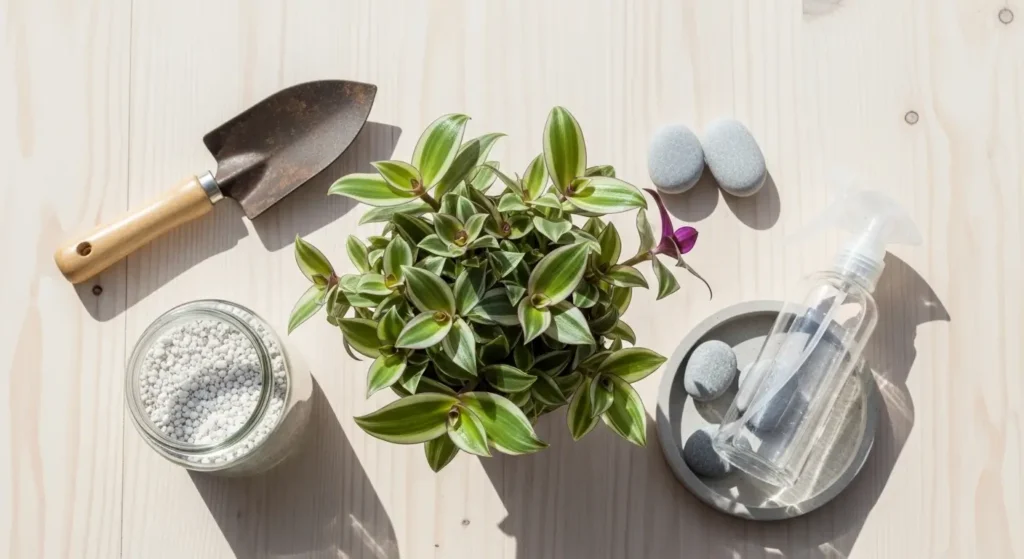
Materials needed:
- Sharp, clean scissors or pruning shears
- Small pot with moist potting mix
- Rooting hormone (optional but helpful)
Steps:
- Select a healthy stem with at least 2–3 leaves and cut it just below a leaf node, making the cutting 3–4 inches long.
- Remove the lower leaves so only the top 1–2 leaves remain, then optionally dip the cut end in rooting hormone.
- Insert the cutting into moist potting mix, burying at least one node below the soil surface. Firm the soil gently around it.
- Place in bright indirect light and keep the soil consistently moist. Cover with a plastic bag to retain humidity if desired.
Roots typically develop within 2–4 weeks. Once you see new leaf growth, the cutting has rooted. This propagation method works equally well for the arrowhead plant, another fast-rooting tropical that thrives under similar conditions.
Propagating by Division
Division is the quickest way to create new oyster plant specimens, especially with mature plants that have formed multiple offsets.
Steps:
- Remove the plant from its pot and gently shake away excess soil to expose the root system.
- Identify natural offsets (smaller plantlets growing at the base) and carefully separate them from the mother plant, keeping roots intact.
- Pot each division in fresh, well-draining potting mix and water thoroughly.
New divisions settle in within 1–2 weeks and grow quickly once established.
Potting and Repotting Oyster Plant
Repot your oyster plant every 1–2 years, or when you notice roots circling the bottom of the pot or poking out of drainage holes. Always choose a pot 1–2 inches larger in diameter than the current one going too big leads to soggy soil and root rot.
When repotting, gently loosen the root ball, remove any dead or rotting roots, and place in fresh potting mix. Make sure the new container has drainage holes this is non-negotiable for this plant. Spring is the best time to repot, giving the plant the whole growing season to adjust. The bridal veil plant follows the same repotting schedule and benefits from identical container and drainage requirements.
Common Pests and Diseases
Like most houseplants, the oyster plant can occasionally attract a few unwanted visitors. Catching them early makes treatment much easier.
Spider Mites
Look for fine webbing between leaves and a stippled, dusty appearance on leaf surfaces. Treat by washing the plant thoroughly with water and applying neem oil or insecticidal soap spray weekly until clear.
Mealybugs
White, cottony clusters in leaf axils and along stems are the telltale sign. Remove visible bugs with a cotton swab dipped in rubbing alcohol, then treat with neem oil.
Scale Insects
Check for small, brown, shell-like bumps along stems and leaf undersides. Scrape off with a soft toothbrush and treat with horticultural oil or insecticidal soap.
Aphids
Tiny green, black, or white insects clustered on new growth cause leaves to curl and distort. Blast them off with water and follow up with insecticidal soap as needed.
Fungus Gnats
If you see tiny flies around the soil, let the top few inches dry out completely between waterings. Yellow sticky traps help catch adults while you address the moisture issue. According to Penn State Extension’s integrated pest management guidelines, reducing excess soil moisture is the most effective long-term control strategy for fungus gnats.
Common Problems with Oyster Plant
Here’s how to troubleshoot common issues:
Yellow Leaves
Yellow leaves on your oyster plant usually signal overwatering check the soil first and improve drainage if soggy. Yellowing can also indicate nutrient deficiency; a balanced fertilizer often helps. Older lower leaves naturally yellow with age simply remove them. The same troubleshooting applies to the nerve plant.
Brown Leaf Tips
Brown tips are almost always a humidity problem. Dry indoor air especially in winter causes the leaf tips to dry out and turn brown. Move the plant away from heating vents and increase humidity with a pebble tray or humidifier. Fluoride or chlorine in tap water can also cause brown tips; switching to filtered or distilled water often helps. Less commonly, underwatering is to blame, so check your watering schedule too.
Drooping or Wilting Leaves
Drooping leaves usually mean one of two things: the plant is thirsty or it’s been overwatered. Check the soil moisture first. If it’s bone dry, water deeply and the plant should perk back up within an hour or two. If the soil is wet and mushy, you’re dealing with overwatering or potential root rot let it dry out and check the roots. This exact problem also shows up frequently in dumb cane plants, where consistent watering makes all the difference.
Leggy Growth / Sparse Foliage
Leggy, stretched-out stems with widely spaced leaves are a sure sign of insufficient light. Move the plant to a brighter spot closer to a window with bright indirect light. Additionally, trimming back leggy stems encourages the plant to put out bushier, more compact new growth from lower down.
FAQ
Do oyster plants like sun or shade?
Oyster plants prefer bright indirect light, not direct sun or deep shade. A spot near an east-facing window is ideal for vibrant foliage.
What is the oyster plant good for?
Oyster plants are popular as low-maintenance ornamental houseplants valued for their striking purple and green foliage. They also work well as ground cover outdoors in warm climates.
Are oyster plants invasive?
Yes, in warm outdoor climates like Florida and Hawaii, the oyster plant can spread aggressively. Grow it in containers outdoors to keep it in check.
Is the oyster plant a perennial or annual?
The oyster plant is a tropical perennial, meaning it lives year-round in USDA zones 9–12. In colder regions, it’s typically grown as a houseplant.
1 thought on “How to Grow and Care for Oyster Plant”
Comments are closed.