Curious about croton plant care? These stunning plants bring wild, tropical flair and bright, bold leaves to any home. In this article, I’ll share simple tips to keep those colors popping—from watering and lighting to common mishaps like leaf drop. You’ll also hear my personal stories about managing pests, fertilizing, and propagating new crotons. Stick around, and you’ll be ready to maintain gorgeous foliage and vibrant color all year long.
Table of Contents
Croton Plant Care Basics
What Makes Croton Plants Unique
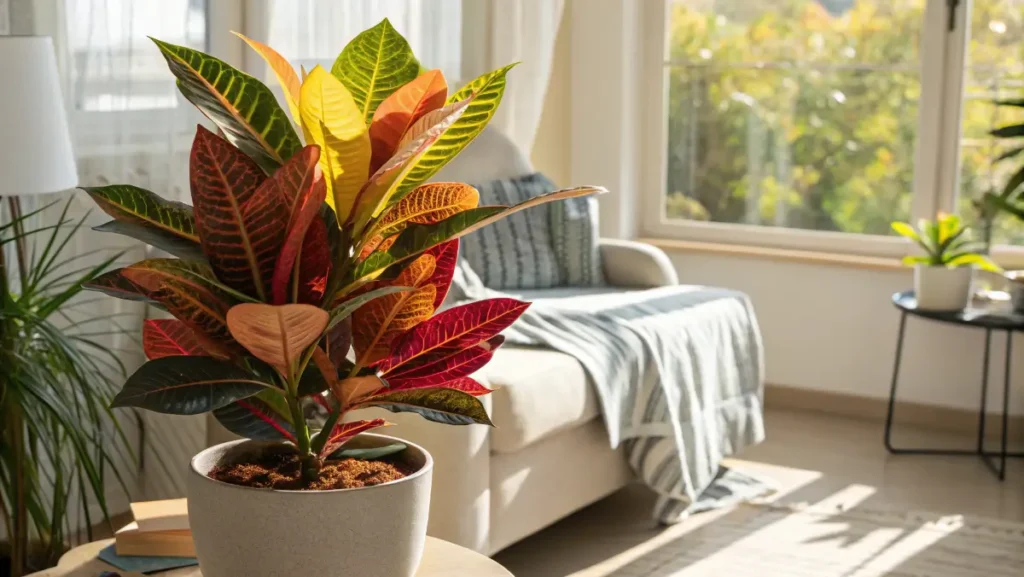
I’ve always been crazy about croton plants, often labeled as Codiaeum variegatum care wonders. Their variegated foliage usually flaunts reds, oranges, yellows, and greens in countless shapes—twisty leaves or broad paddles. Because they come from tropical areas, they adore warmth and a little humidity.
- They stand out as decorative foliage plants.
- Their leaf color maintenance depends on good light and proper watering.
- Crotons bring a festive vibe, whether in a living room or porch.
Benefits of Growing Croton Plants at Home
I keep crotons in my place because:
- They add bright visuals, making a gloomy spot pop.
- They’re surprisingly easy to handle if you follow a croton plant care plan.
- They pair well with other tropical houseplants—like a Black Pagoda Lipstick Plant—to create a mini jungle.
Honestly, they create that “Wow!” factor for visitors. If you stick to a consistent approach, they’ll reward you with colorful leaves all year. Every season, I tweak small details, but the basics remain the same.
Ideal Lighting Conditions for Croton Plants
Understanding Croton Sunlight Requirements
Crotons crave light for their flashy leaves. I remember once placing a croton in a dim corner—bad idea. Its leaves faded, and it seemed grumpy. So here’s what I learned:
- Aim for bright, indirect light or a few hours of direct morning sun.
- Avoid intense midday rays that might scorch leaves.
- Watch out for changes in seasons; shorter winter days mean less light.
Adjusting Light Levels for Indoor and Outdoor Crotons
Sometimes folks ask if crotons work better indoors or outdoors. Personally, I’ve used both methods. During warmer months, I place them outside under partial shade. However, I bring them indoors when the temperature dips.
- Outside: Filtered sunlight or partial shade prevents leaf burn.
- Indoors: A south-facing window with a sheer curtain can work wonders.
- Seasonal changes in croton care can mean shifting the pot’s position.
No matter where you keep them, give them decent light. That’s the secret to croton plant care success and those intense leaf colors.
Watering and Humidity Essentials for Croton Plant Care
Correct Watering Schedule
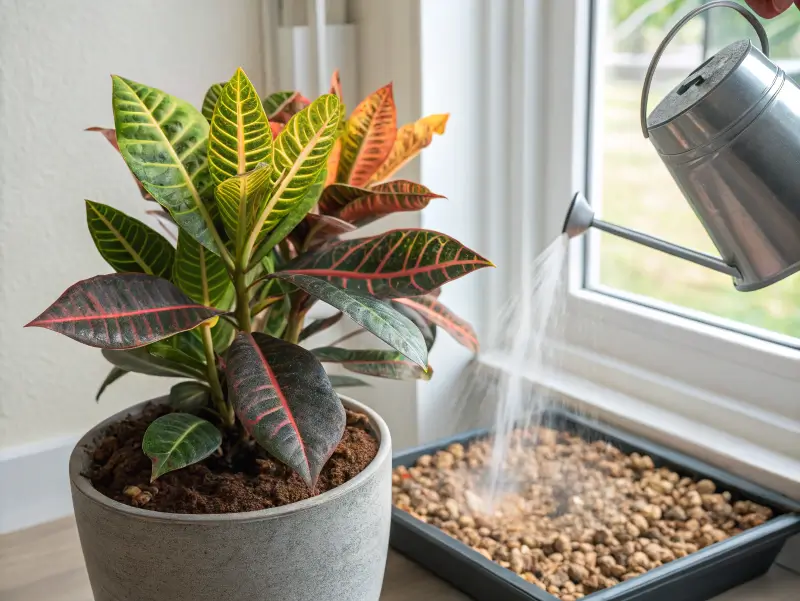
Watering can make or break your day with crotons. If I overwater, I see drooping leaves and heartbreak. If I underwater, the leaves get sad and crispy. So I:
- Wait until the top inch of soil feels dry.
- Water thoroughly, then let excess drain out.
- In hot months, water more often, especially if the potting mix dries fast.
Like many tropical houseplants, they can be picky. When in doubt, I always check the soil before grabbing the watering can.
Maintaining Proper Humidity Levels
I quickly discovered that croton plant care thrives in higher humidity. Dry indoor air can trigger leaf drop or color loss.
- Place your pot on a humidity tray filled with pebbles and water.
- Use a small humidifier in winter when heaters dry the air.
- Group crotons with other moisture-loving buddies like a Spider Plant to share humidity.
Honestly, the difference in leaf vibrancy is huge once the humidity is right. If you see brown tips or droopy leaves, a quick check of moisture levels might save the day.
Ensuring the Right Soil and Potting Mix
Best Soil Composition for Croton Plants
I’ve tested several mixes, and crotons seem happiest in well-draining soil. You don’t want mud around those roots. I prefer:
- A peat-based potting mix with perlite for aeration.
- A hint of compost to feed the plant over time.
- Light, airy soil that holds moisture but doesn’t stay soggy.
Why is this important? Crotons hate standing water, which can lead to root rot. Keep in mind that good drainage is a major part of croton plant care.
Choosing the Perfect Container
The right pot can save you headaches. I’ve had success with terracotta pots:
- They allow water to evaporate, preventing soggy roots.
- Multiple drainage holes help avoid water buildup.
- Repot when roots burst out the drainage hole.
Pick a container slightly bigger than the current root ball—crotons don’t love being cramped. Each time I repot, I see a light growth spurt, likely from the fresh soil. That’s a good sign your croton plant care routine is on track.
Optimal Temperature and Environment
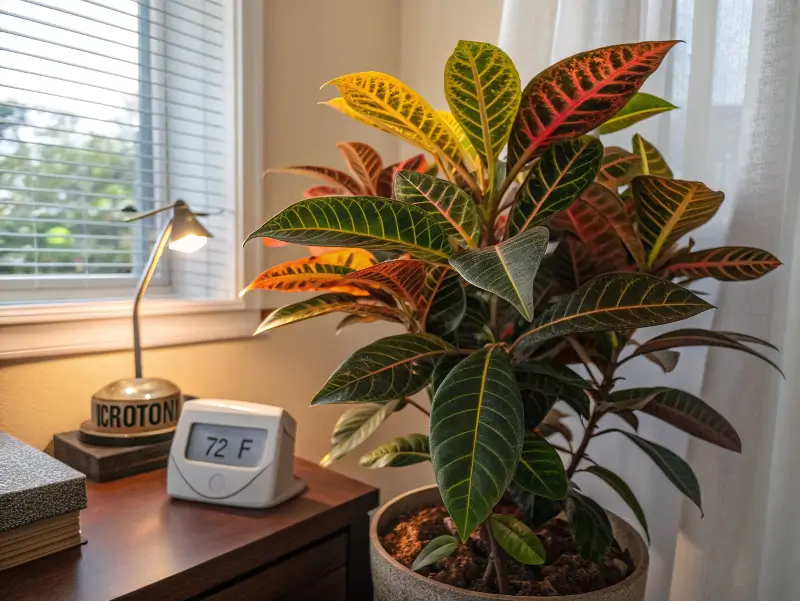
Recommended Temperature Range
Crotons like it warm. When I accidentally left one near a drafty window during a chilly spring, its leaves started dropping. So now I keep them in areas around:
- 65°F to 80°F, which suits their tropical nature.
- Above 60°F at minimum, since colder air can cause yellowing.
They love that stable, balmy environment. If you live in a colder region, keep them away from windows that let in cold air blasts.
Avoiding Drafts and Fluctuations
Big temperature swings can unsettle your croton plant care plan. I’ve learned:
- Don’t place crotons near frequently opened doors in winter.
- Keep them away from direct air conditioning vents or heaters.
- Consistent warmth supports bright leaf colors and healthy growth.
Whenever I shift their spot, I watch the leaves for any signs of stress. If they start sulking, I move them back. Over time, you’ll find a sweet spot that your croton calls home.
Fertilization and Pruning Tips for Healthy Crotons
Selecting the Right Fertilizer
When I first got into croton plant care, I fed them way too often. That led to salt buildup and leaf problems. Now, I follow a simpler schedule:
- Use a balanced fertilizer for crotons (like 10-10-10).
- Feed once a month in spring and summer.
- Reduce feeding in cooler months.
I realized that more fertilizer doesn’t always mean better growth. Instead, consistent light and watering pair well with moderate feeding. If leaves start turning pale, I might bump the schedule, but slowly.
Pruning and Leaf Maintenance
I don’t heavily prune crotons. However, I’ll snip dead or yellow leaves to direct energy to healthier parts. When I see a bare stem or awkward shape:
- Use sharp scissors or pruning shears to cleanly cut.
- Wipe tools with rubbing alcohol to avoid spreading any pests.
- Prune lightly to shape them as desired.
It’s mostly a cosmetic thing, but new leaves often pop in with stronger color. Frankly, it’s fun to see how quickly a slightly pruned croton bounces back.
Common Pests and Diseases Affecting Croton Plants
Identifying and Treating Insect Infestations
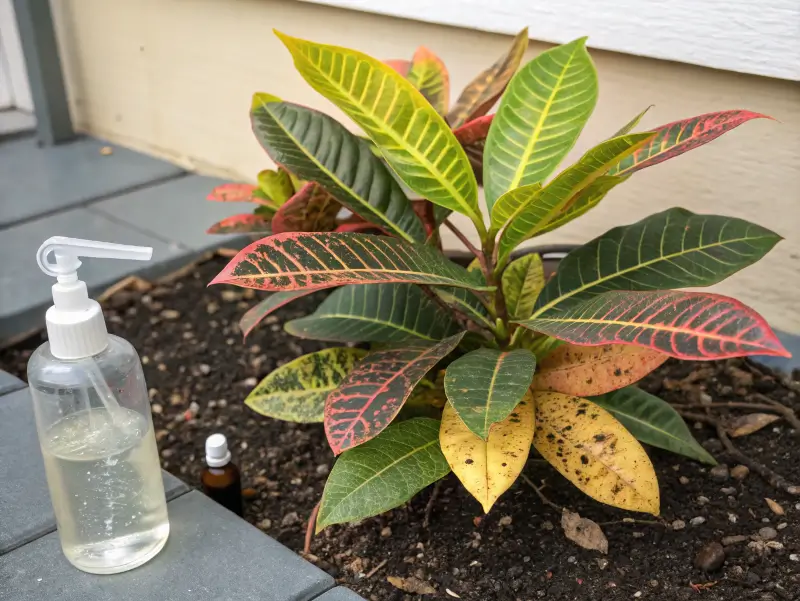
At times, I’ve caught pesky bugs on my crotons. The big offenders are spider mites and mealybugs:
- Spider mites might leave fine webs on the underside of leaves.
- Mealybugs show up as small, cottony clumps on stems and foliage.
When these pop up, I spray the plant with a soapy water mixture or a neem oil solution. I repeat every few days until I see zero signs of bugs. Consistency matters if you want to protect your croton plant care strategy.
Preventing and Managing Fungus or Root Rot
Root rot can happen if soil stays too wet. A few tips that rescued my crotons:
- Use a well-draining mix so water doesn’t pool.
- Water only when the topsoil feels dry to the touch.
- If roots smell bad or appear slimy, trim them and repot in fresh mix.
When dealing with serious plant health questions, I sometimes check USDA’s site for general plant tips. Staying on top of these issues keeps your croton from going downhill fast.
Propagation Methods to Expand Your Croton Collection
Propagating from Stem Cuttings
I’m all about freebies, so propagating crotons feels like scoring a bonus plant:
- Snip a 4–6 inch cutting below a node.
- Remove lower leaves so energy focuses on root growth.
- Place the cutting in water or a moist potting mix.
I usually see new roots forming in a few weeks, especially in the warmer months. Sometimes, I dip the cutting in rooting hormone, though it’s not a must.
Best Time and Conditions for Successful Rooting
Timing is crucial for croton plant care propagation. Spring or early summer is my favorite window:
- Longer days and warm temps help roots form quicker.
- Keep the cutting in bright, indirect sun.
- Mist the top regularly to keep humidity high.
I’ve had the best luck placing a plastic bag over the pot to trap moisture. Once you see fresh leaves, you’ll know your new croton baby is thriving!
Advanced Croton Plant Care Troubleshooting
Recognizing Signs of Stress in Crotons
Crotons practically yell at you when they’re unhappy. A few red flags I’ve noticed:
- Leaves curling or turning brown at the edges: Might be low humidity or not enough water.
- Sudden leaf drop: Possibly a cold draft or big shift in location.
- Faded colors: Potentially lacking sufficient light or nutrients.
Sometimes, my croton sulked after I moved it to a darker shelf. Once I returned it to a bright corner, it recovered. Keep an eye on these signals, and you can fix issues before they get worse.
Reviving Neglected or Overwatered Plants
If you suspect you’ve drowned your croton:
- Gently remove it from the pot and check the roots.
- Snip off any mushy sections.
- Repot in a fresh, airy soil mix.
On the other hand, if it was bone-dry, a slow, thorough soak might help bring it back. I usually water, then wait for the excess to drip out, letting the roots get the moisture they need without sitting in water. With a bit of patience, your croton plant care can get back on track.
Frequently Asked Questions
Do Crotons Need Direct Sunlight?
Some folks wonder if direct sun is absolutely necessary. In my experience, morning sun is fantastic for leaf color maintenance. However, scorching midday rays can fry them in summer. If you notice leaf edges turning brown, try shifting the plant to a spot with filtered light.
Why Are Leaves Falling Off My Croton?
I’ve battled leaf drop a few times. Usually, it’s:
- Too little humidity.
- Overwatering or underwatering.
- A cold draft from an open window or AC vent.
Check your watering schedule and environment. If the soil is soggy or the air is super dry, fix that fast.
Where Is the Best Place to Put a Croton Plant?
Crotons love stable conditions. I keep mine in a sunlit spot that doesn’t face huge temperature changes. Near a bright window—yet away from direct midday heat—works great. They’re definitely indoor vs. outdoor crotons, but you can place them outdoors in the summer if you want, as long as you protect them from extreme sun.
Are Croton Plants Indoor or Outdoor Plants?
I’d say both. In warm, humid places, you can grow crotons outdoors year-round. In cooler climates, it’s best to keep them inside. I like them indoors because they add tons of color to my living spaces. Plus, they’re easy to monitor for watering needs.
Conclusion
And that’s my honest take on croton plant care. From choosing the best light to keeping the soil just right, every detail impacts those colorful leaves. Personally, I find something soothing about adjusting their schedule with the changing seasons. If you keep a consistent routine—water carefully, give them enough humidity, and stay on top of any pests—you’ll reap the reward of bright and playful foliage. I hope you’ll have a blast tending your croton, and maybe even share cuttings with friends!
14 thoughts on “Croton Plant Care: Bright Colors, Simple Steps, Happy Leaves”
Comments are closed.